> For the complete documentation index, see [llms.txt](https://wiki.mksdtech.com/llms.txt). Markdown versions of documentation pages are available by appending `.md` to page URLs; this page is available as [Markdown](https://wiki.mksdtech.com/beam/beam-for-rhinoceros/ray.md).
# RAY
Import Autodesk® Revit™ geometry and data into Rhino®
**RAY** in Rhino imports what [RAY for Revit](/beam/beam-for-revit/ray.md) exported: geometry, materials, parameters, levels and coordinates.
## Import
Click **RAY** on the [panel](/beam/beam-for-rhinoceros/using-rhino-beam.md#tool-buttons).
{% tabs %}
{% tab title="Windows" %}
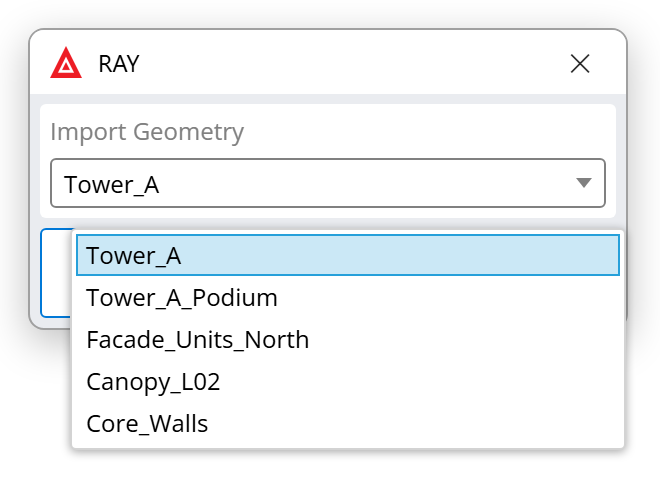
Pick an export from the list. It shows the files in the current [.beam directory](/beam/beam-for-rhinoceros/beam-directory.md) by name, newest first. The label reads **Import Geometry** for a `.3dm` file and **Import Properties** for a `.bin` file. Click **BEAM** to import.
{% endtab %}
{% tab title="macOS" %}
Pick a `.3dm` or `.bin` file in the file dialog.
{% endtab %}
{% endtabs %}
What happens next depends on the file type:
| File | Content | Result |
| ------ | --------------------------------------------- | ---------------------------------- |
| `.3dm` | Geometry | Imported into the current document |
| `.bin` | Parameters, materials, levels and coordinates | Opens the properties dialog |
## Import geometry
Geometry arrives on layers built from the Revit elements, by default `Project::Category::Subcategory`. Elements made of several parts are grouped. Revit materials become Rhino materials.
Each object carries its Revit **Family : Type** as data, and adaptive components carry their **Mark**.
To change the layer names, set up a [layer mapping](/beam/beam-for-revit/ray/layer-mapping.md) before you export from Revit.
## Import properties
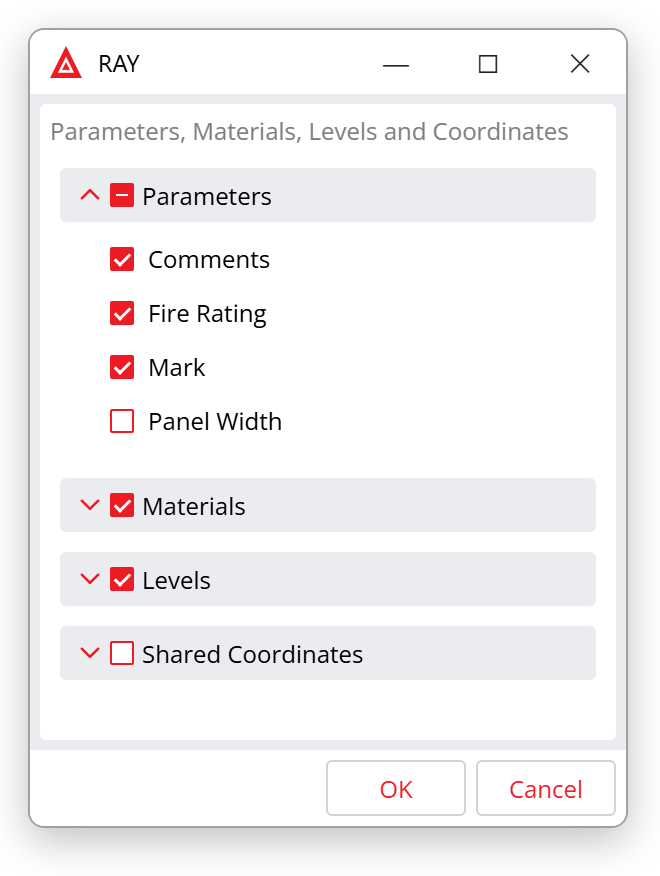
A `.bin` file opens a dialog listing its **Parameters, Materials, Levels and Coordinates**. Tick what you want and click **OK**.
| Item | Result in Rhino |
| ------------------ | ---------------------------------------------------------------------------------------------------------------------------- |
| Parameters | Added as [custom parameters](/beam/beam-for-rhinoceros/parameters.md) |
| Materials | Added as Rhino materials with the Revit colours |
| Levels | Matched to existing [levels](/beam/beam-for-rhinoceros/levels.md) by name, then by height. Otherwise a new level is created. |
| Shared Coordinates | Added as a named CPlane, to use as the **Location** when you export |